


Go to the download website for Jenkins: jenkins.io/download And download the binaries for Jenkins for Windows
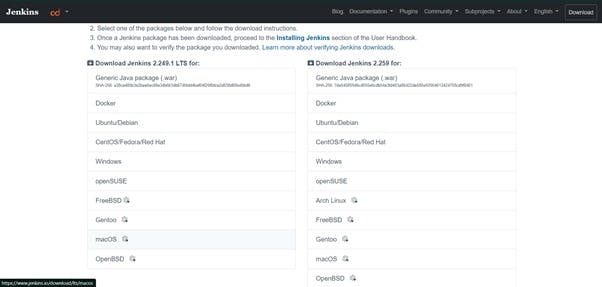
The download to produce a file named jenkins.war Use this file to run Jenkins.
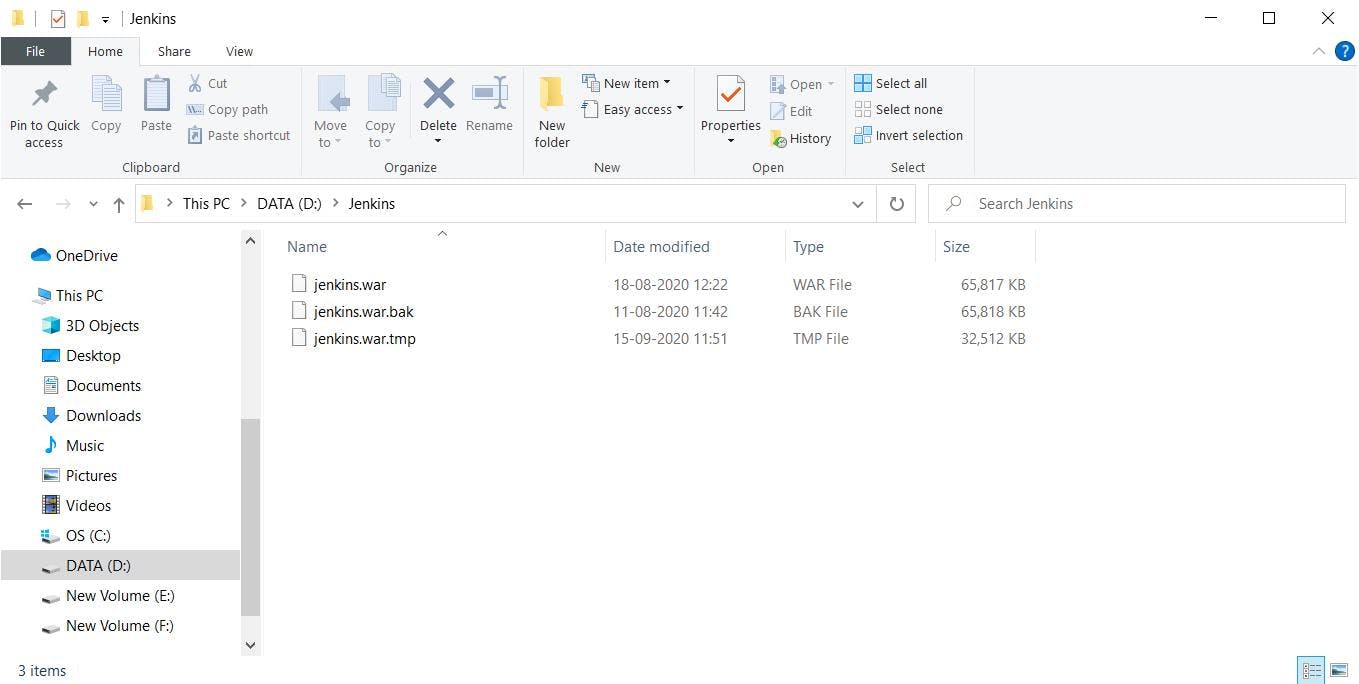
Open the command prompt. Traverse to the directory containing the jenkins.war file Type the command : java -jar jenkins.war
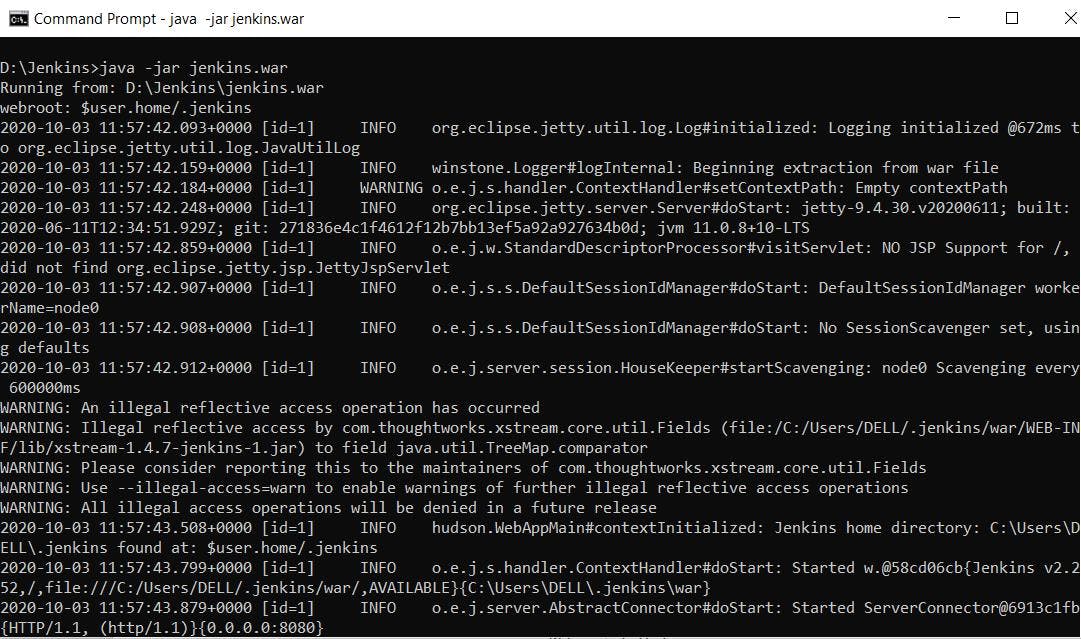
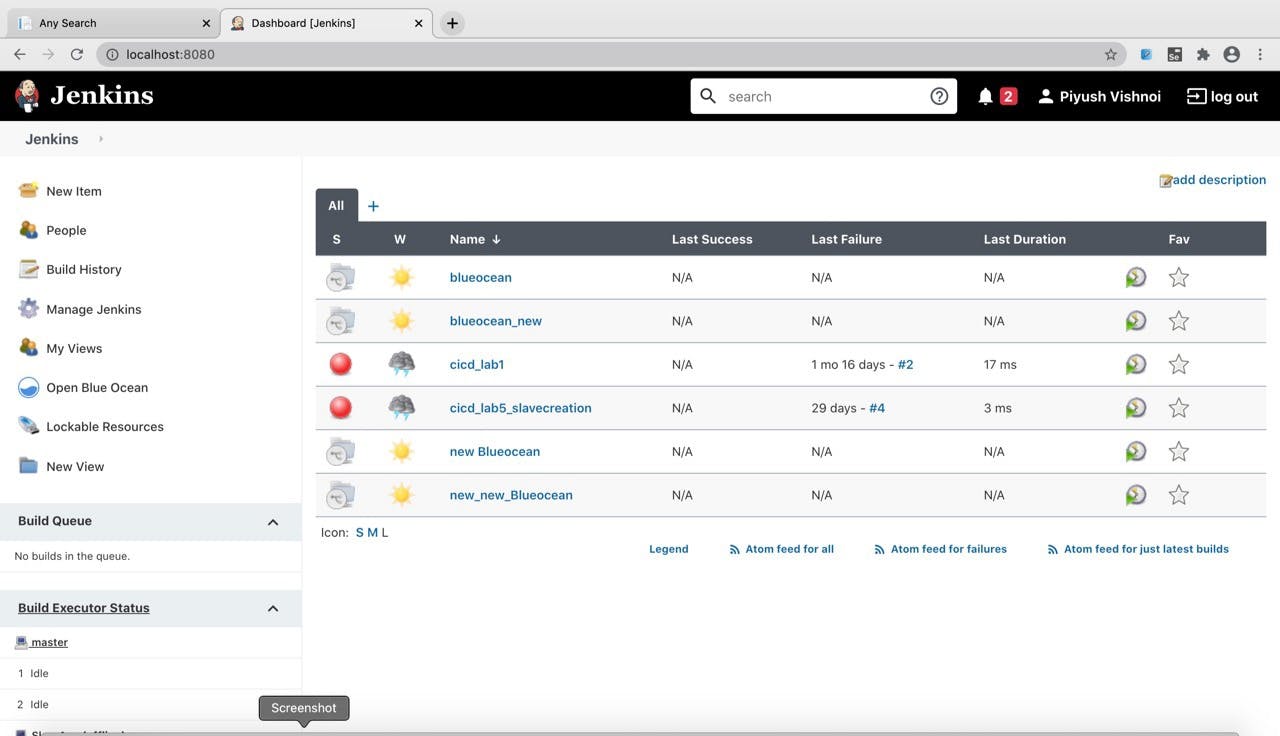
The command takes some to run. Open the web browser. Go to localhost:8080 -> This is the port on which Jenkins run You would be prompted to input the administrator’s password and create a new user. Log in into the Jenkins dashboard

The Dashboard for Jenkins should look something like that:
You will have to add the JDK installations and Maven installations to maven. Go to manage Jenkins option Go to global tool configuration In the Java JDK section name the JDK and add the location of JAVA_HOME
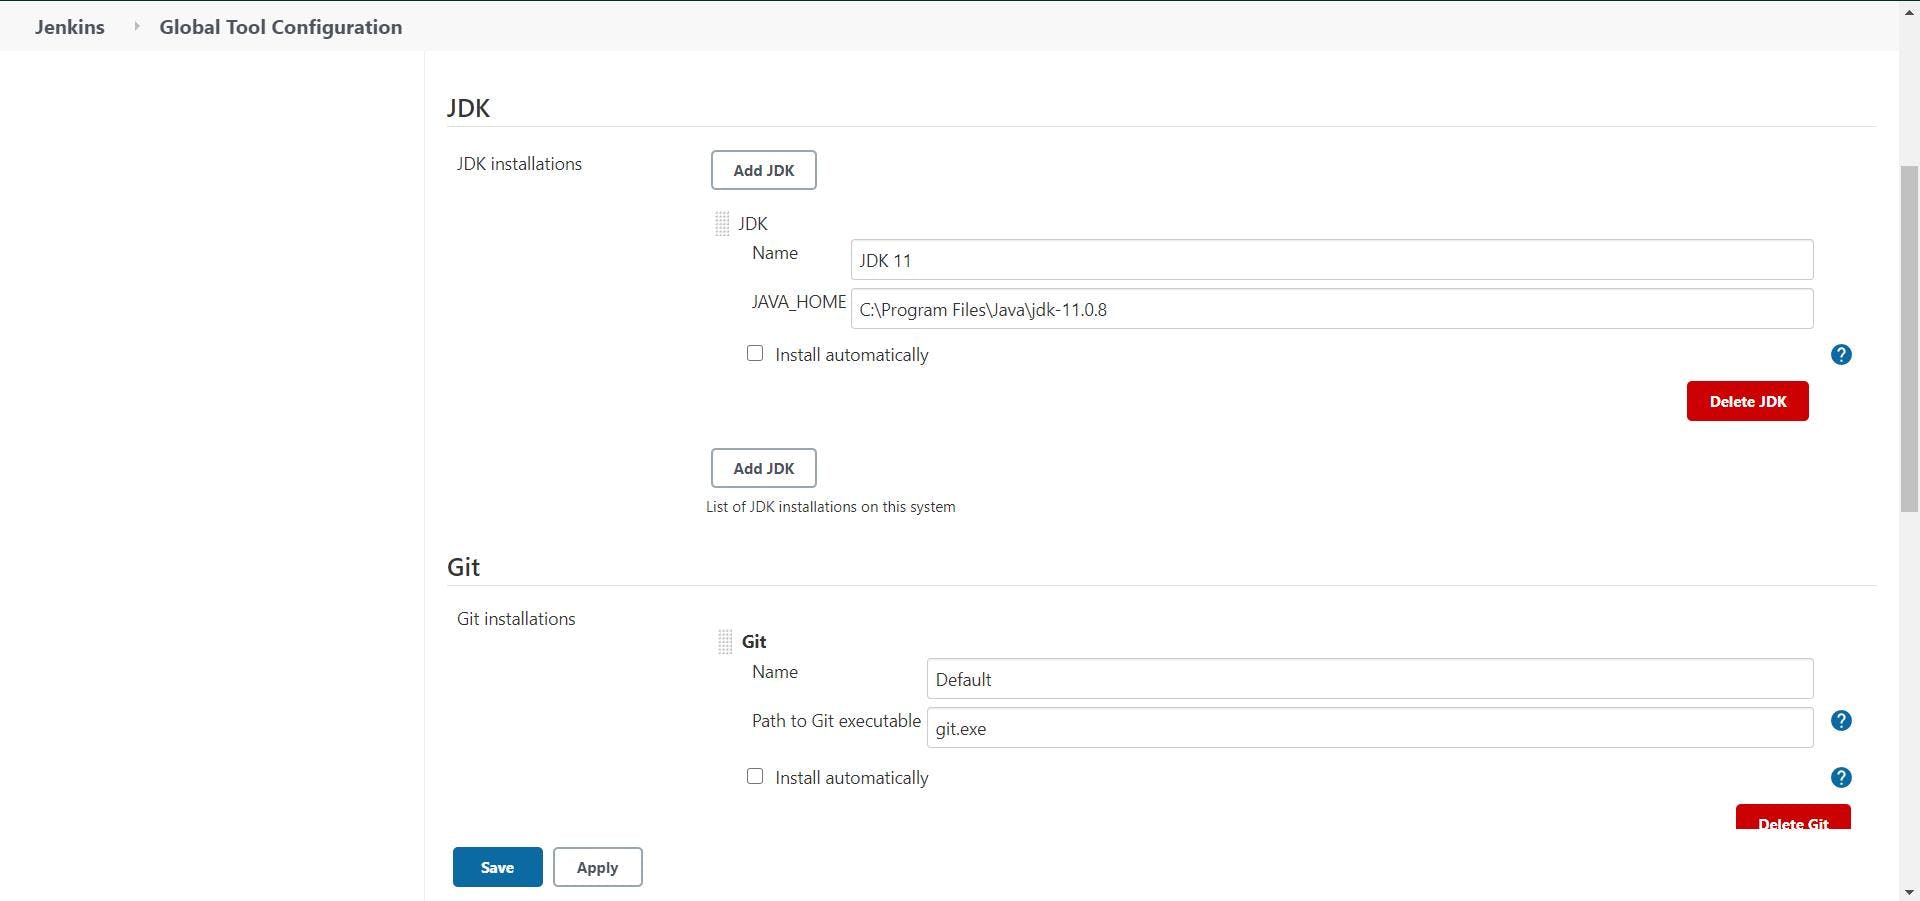
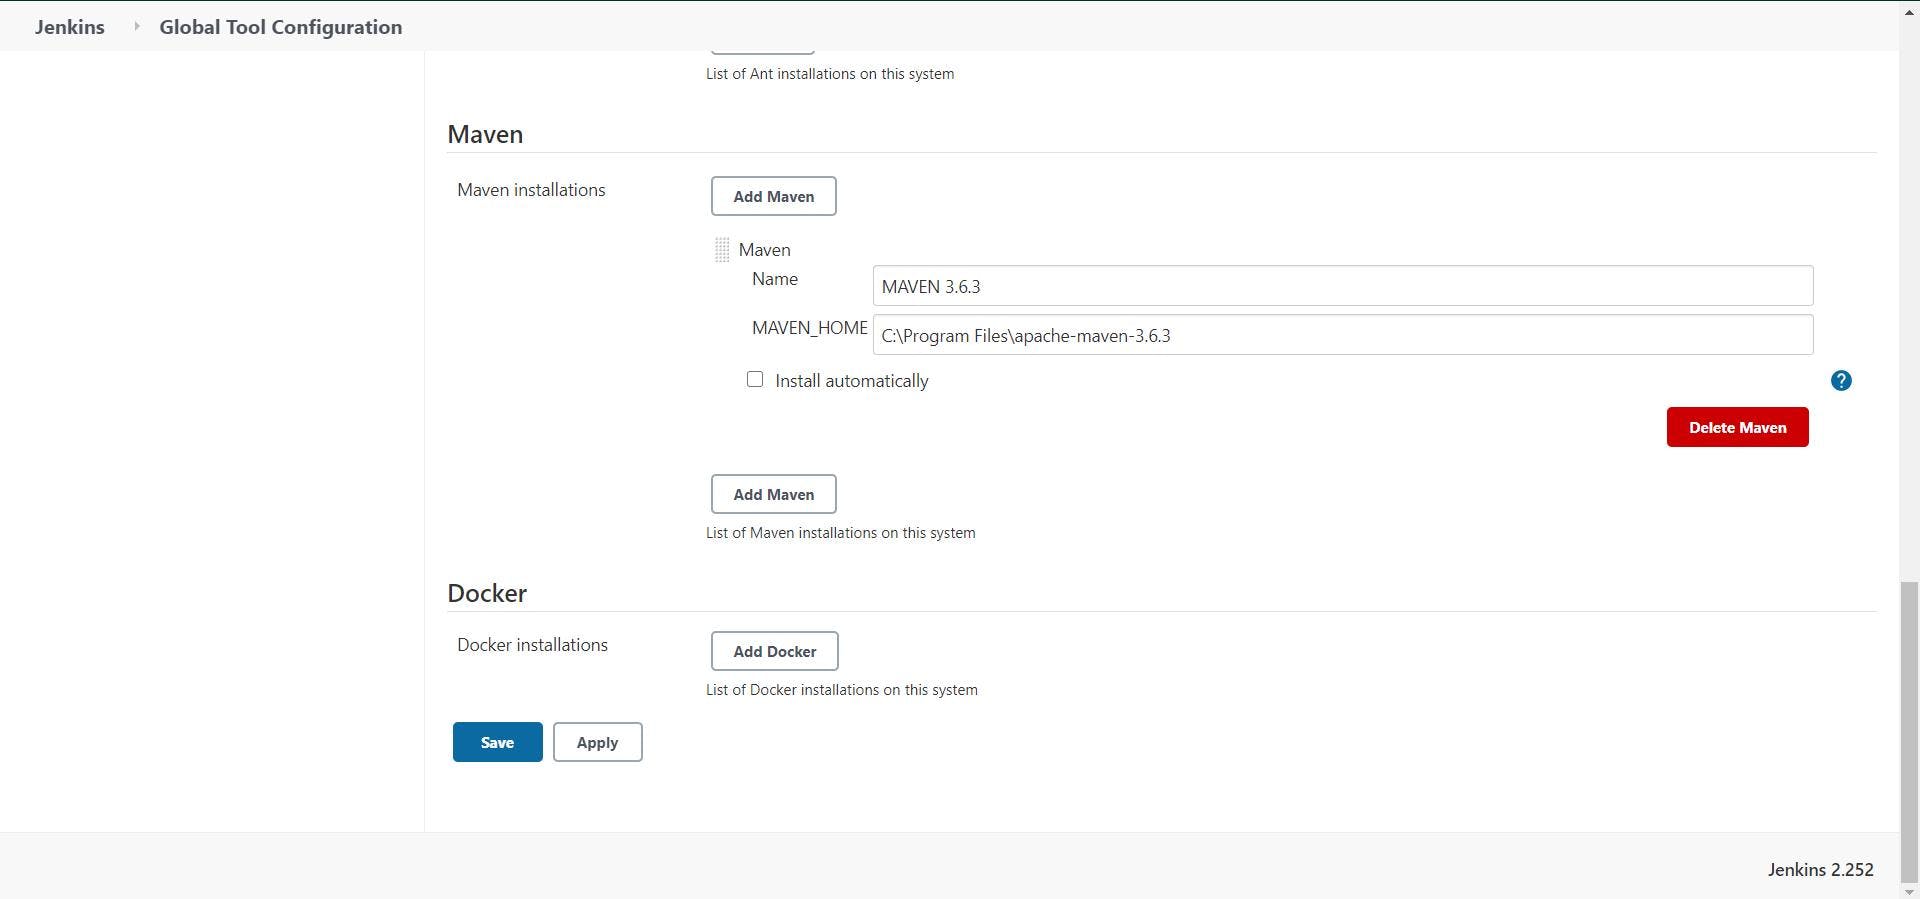
In the Maven Section Add maven name and MAVEN_HOME location Save and apply the changes
Go to Manage Jenkins again Select the manage plugins option Search maven plugin in the available plugins. Install the plugin
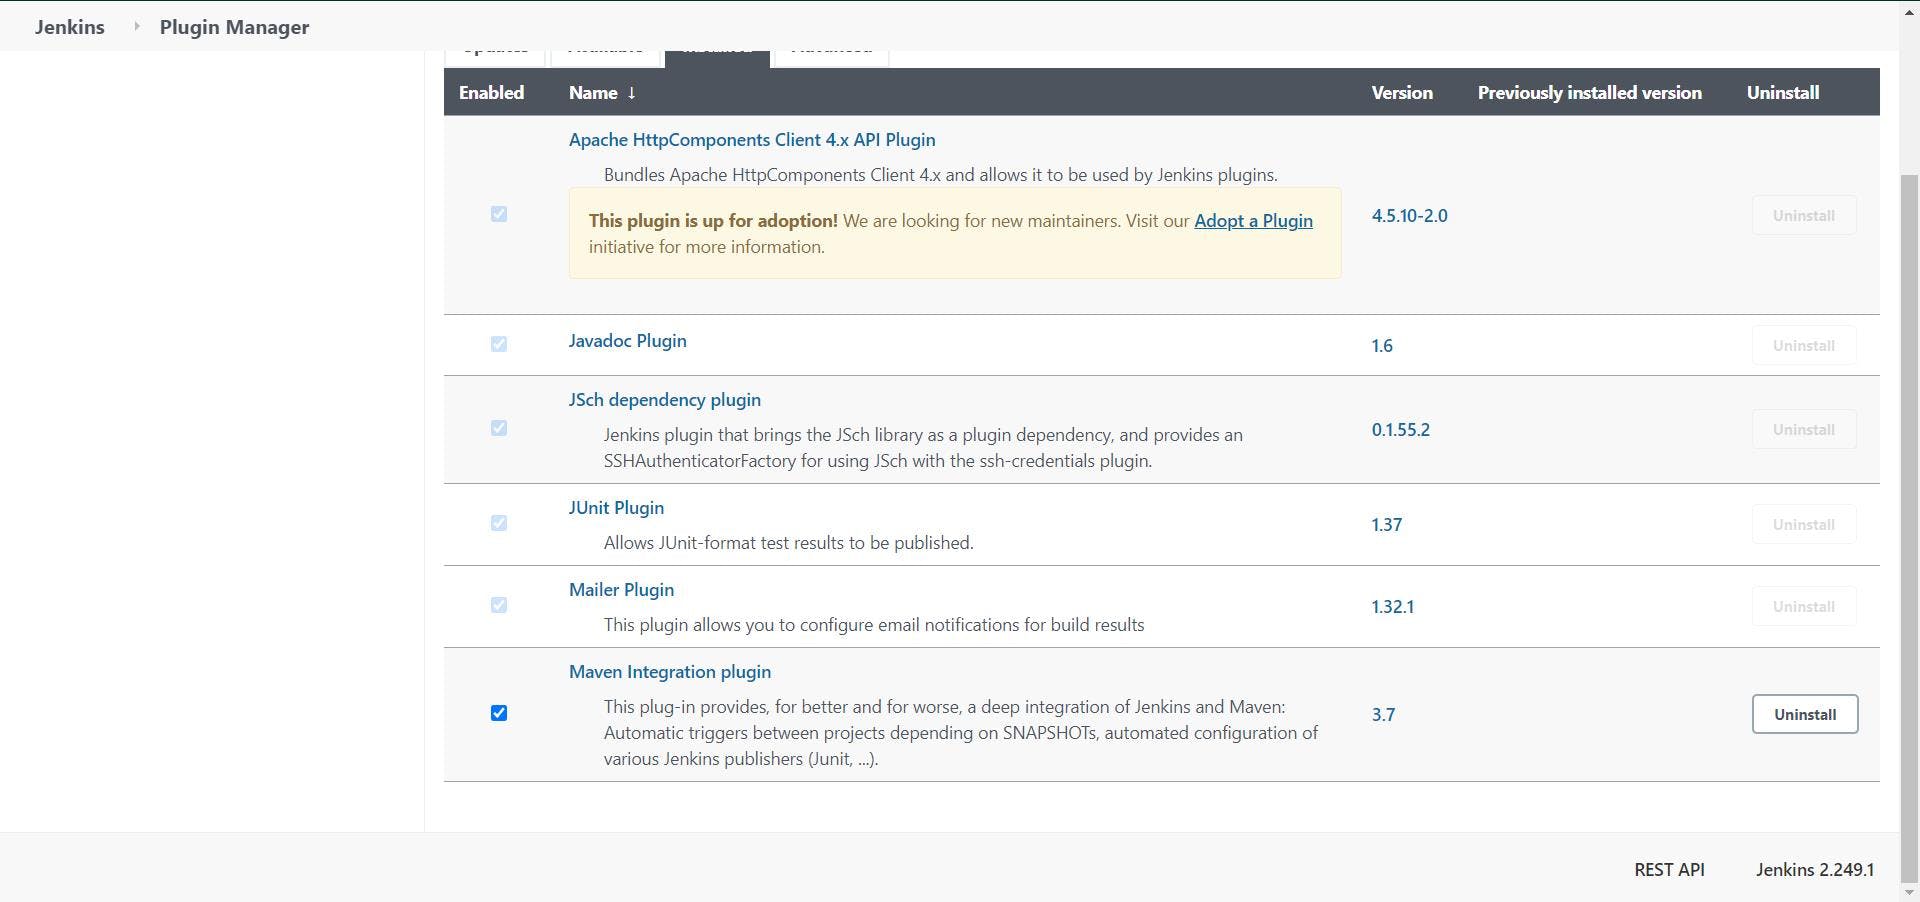
Go to Manage Jenkins again Select the manage plugins option Search maven plugin in the available plugins. Install the plugin
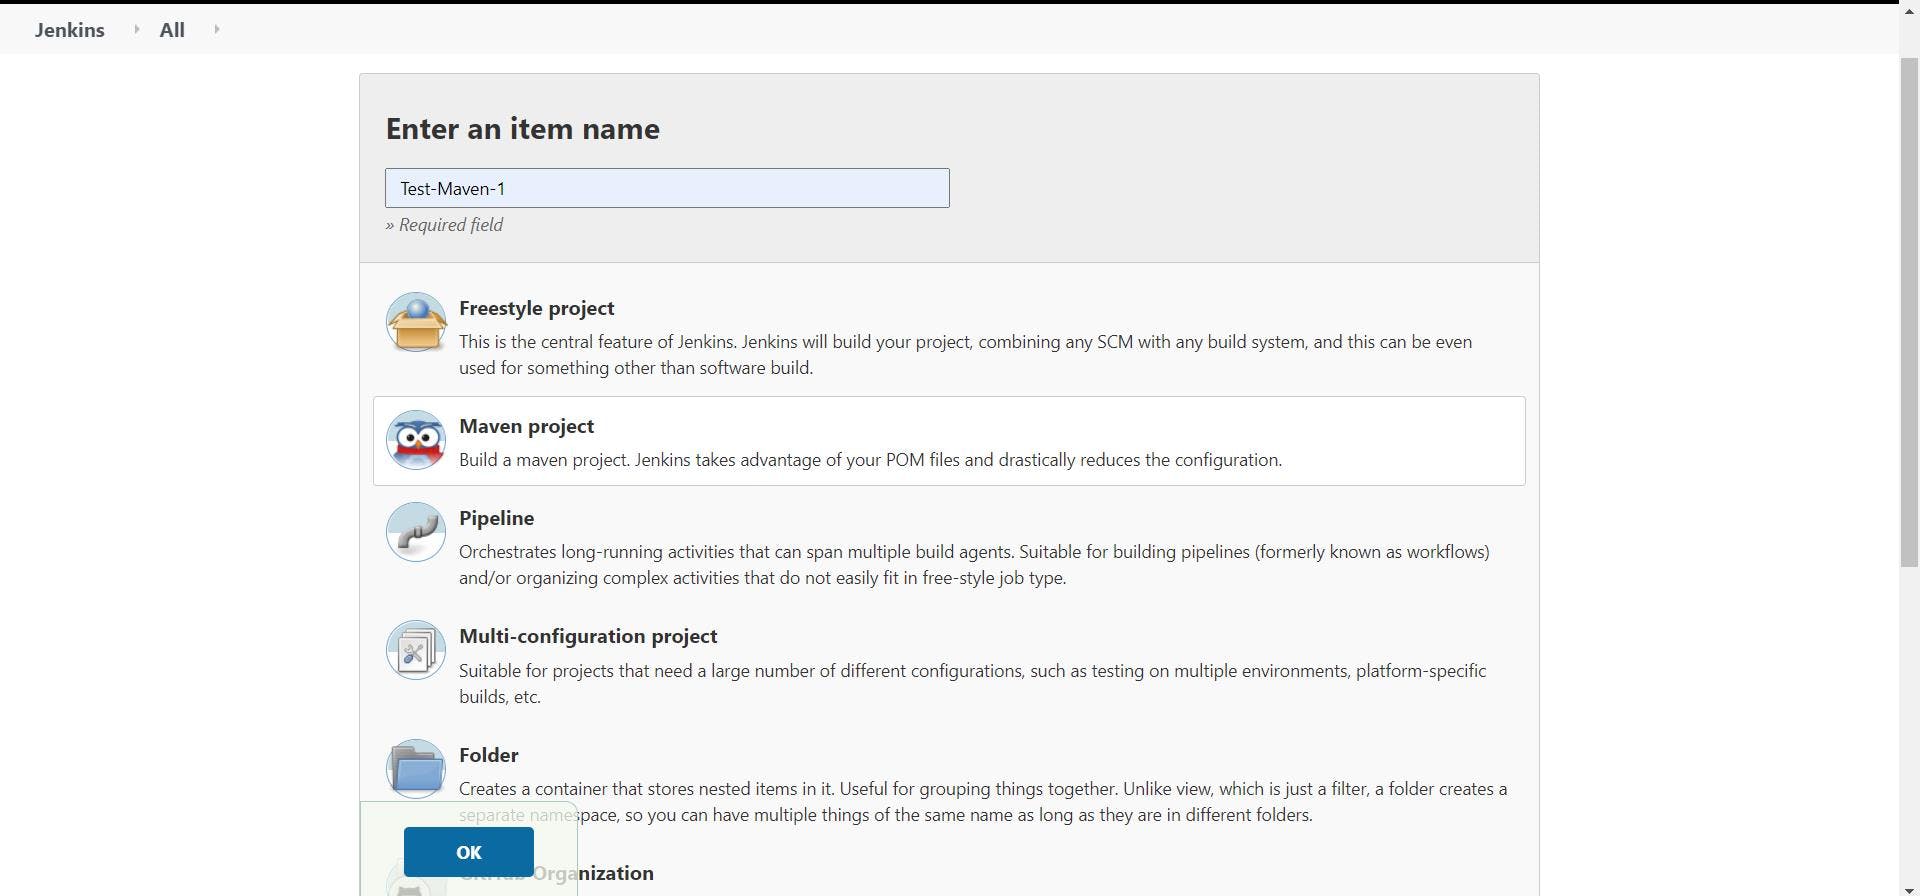
Specify a maven project to Jenkins Specify the location of pom.xml location. Specify the project directory And apply the changes. The created pipeline should look similar to one shown below:
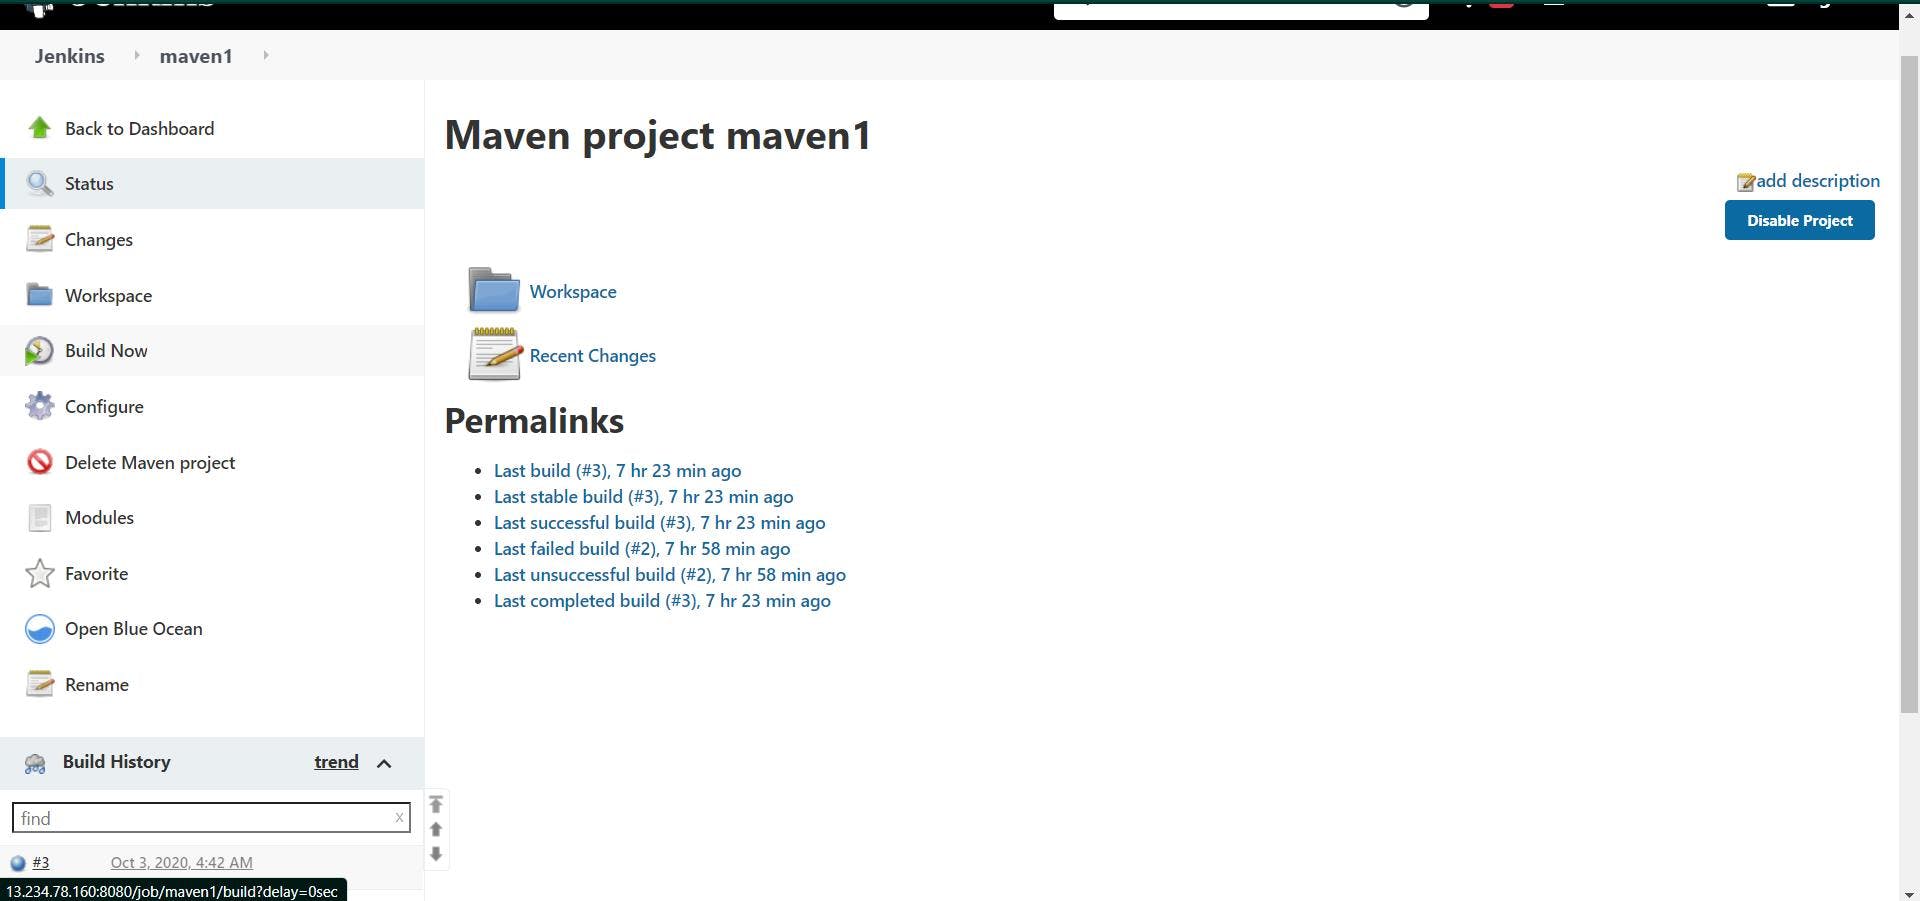
Click on Build now and check the console output for the project
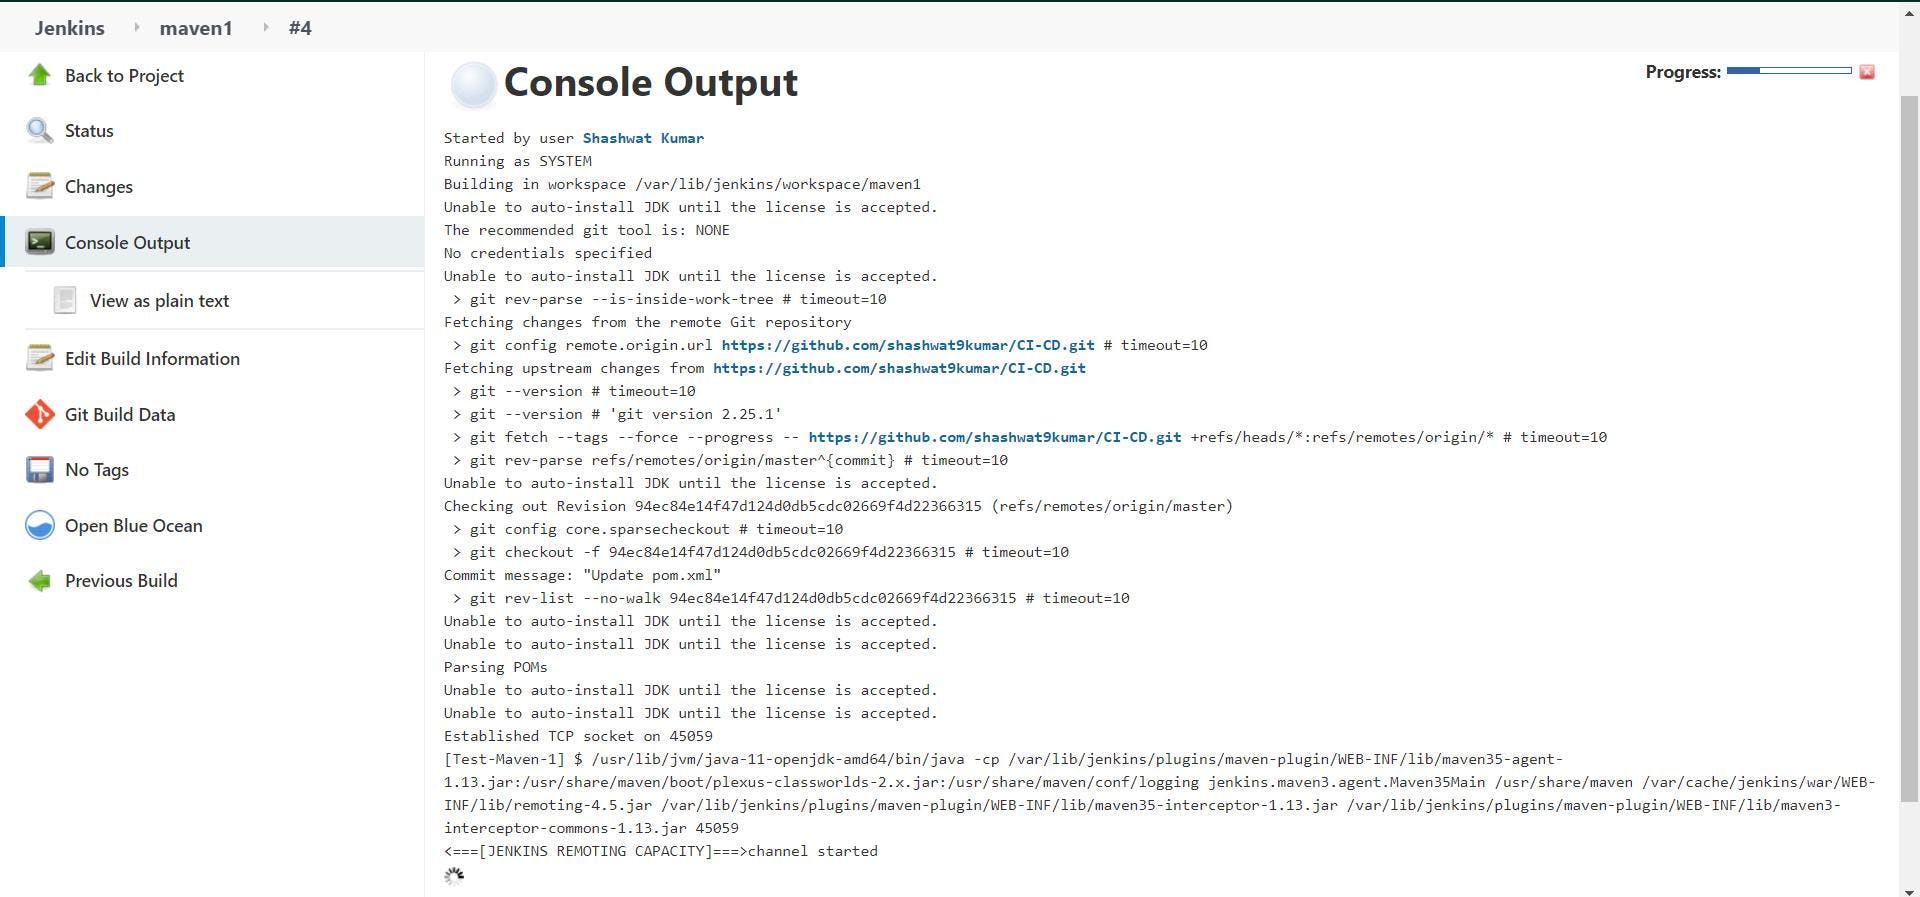
The project should build successfully and return “BUILD SUCCESSFUL”, if no errors were found.
